Non-Technical Buyer Guide
Practical step-by-step workflow for app store publishers, agencies, and non-technical buyers to rebrand, customize, monetize, and launch Nova Music on the Google Play Store.
1. Rebrand Application Title
To change the application display title shown under the launcher icon and on user devices, update the app_name string:
File: app/src/main/res/values/strings.xml
<resources>
    <string name="app_name">Nova Music</string>
</resources>
Also update settings.gradle.kts (rootProject.name = "Nova Music") and metadata.json ("name": "Nova Music").
2. Replace Application Launcher Icons
Nova Music utilizes Android Adaptive Launcher Icons for seamless rendering on square, rounded, and teardrop home screen shapes.
Location: app/src/main/res/mipmap-*
- Right-click
app/src/main/resin Android Studio. - Select New > Image Asset.
- Set Asset Type to Launcher Icons (Adaptive and Legacy).
- Upload your custom logo image for Foreground Layer and select a background color.
- Click Finish to replace existing webp/xml icon files automatically.
3. Change Application Package ID
Every app on the Google Play Store requires a unique applicationId.
File: app/build.gradle.kts
android {
    namespace = "com.example"
    defaultConfig {
        // Change to your unique domain package ID
        applicationId = "payfopus.novamusic.app"
        minSdk = 24
        targetSdk = 36
        versionCode = 2
        versionName = "1.1.0"
    }
}
4. Customize Themes & Languages
Nova Music includes 8 dynamic color themes and multi-language support (English, Arabic RTL, French, Spanish, Turkish, German).
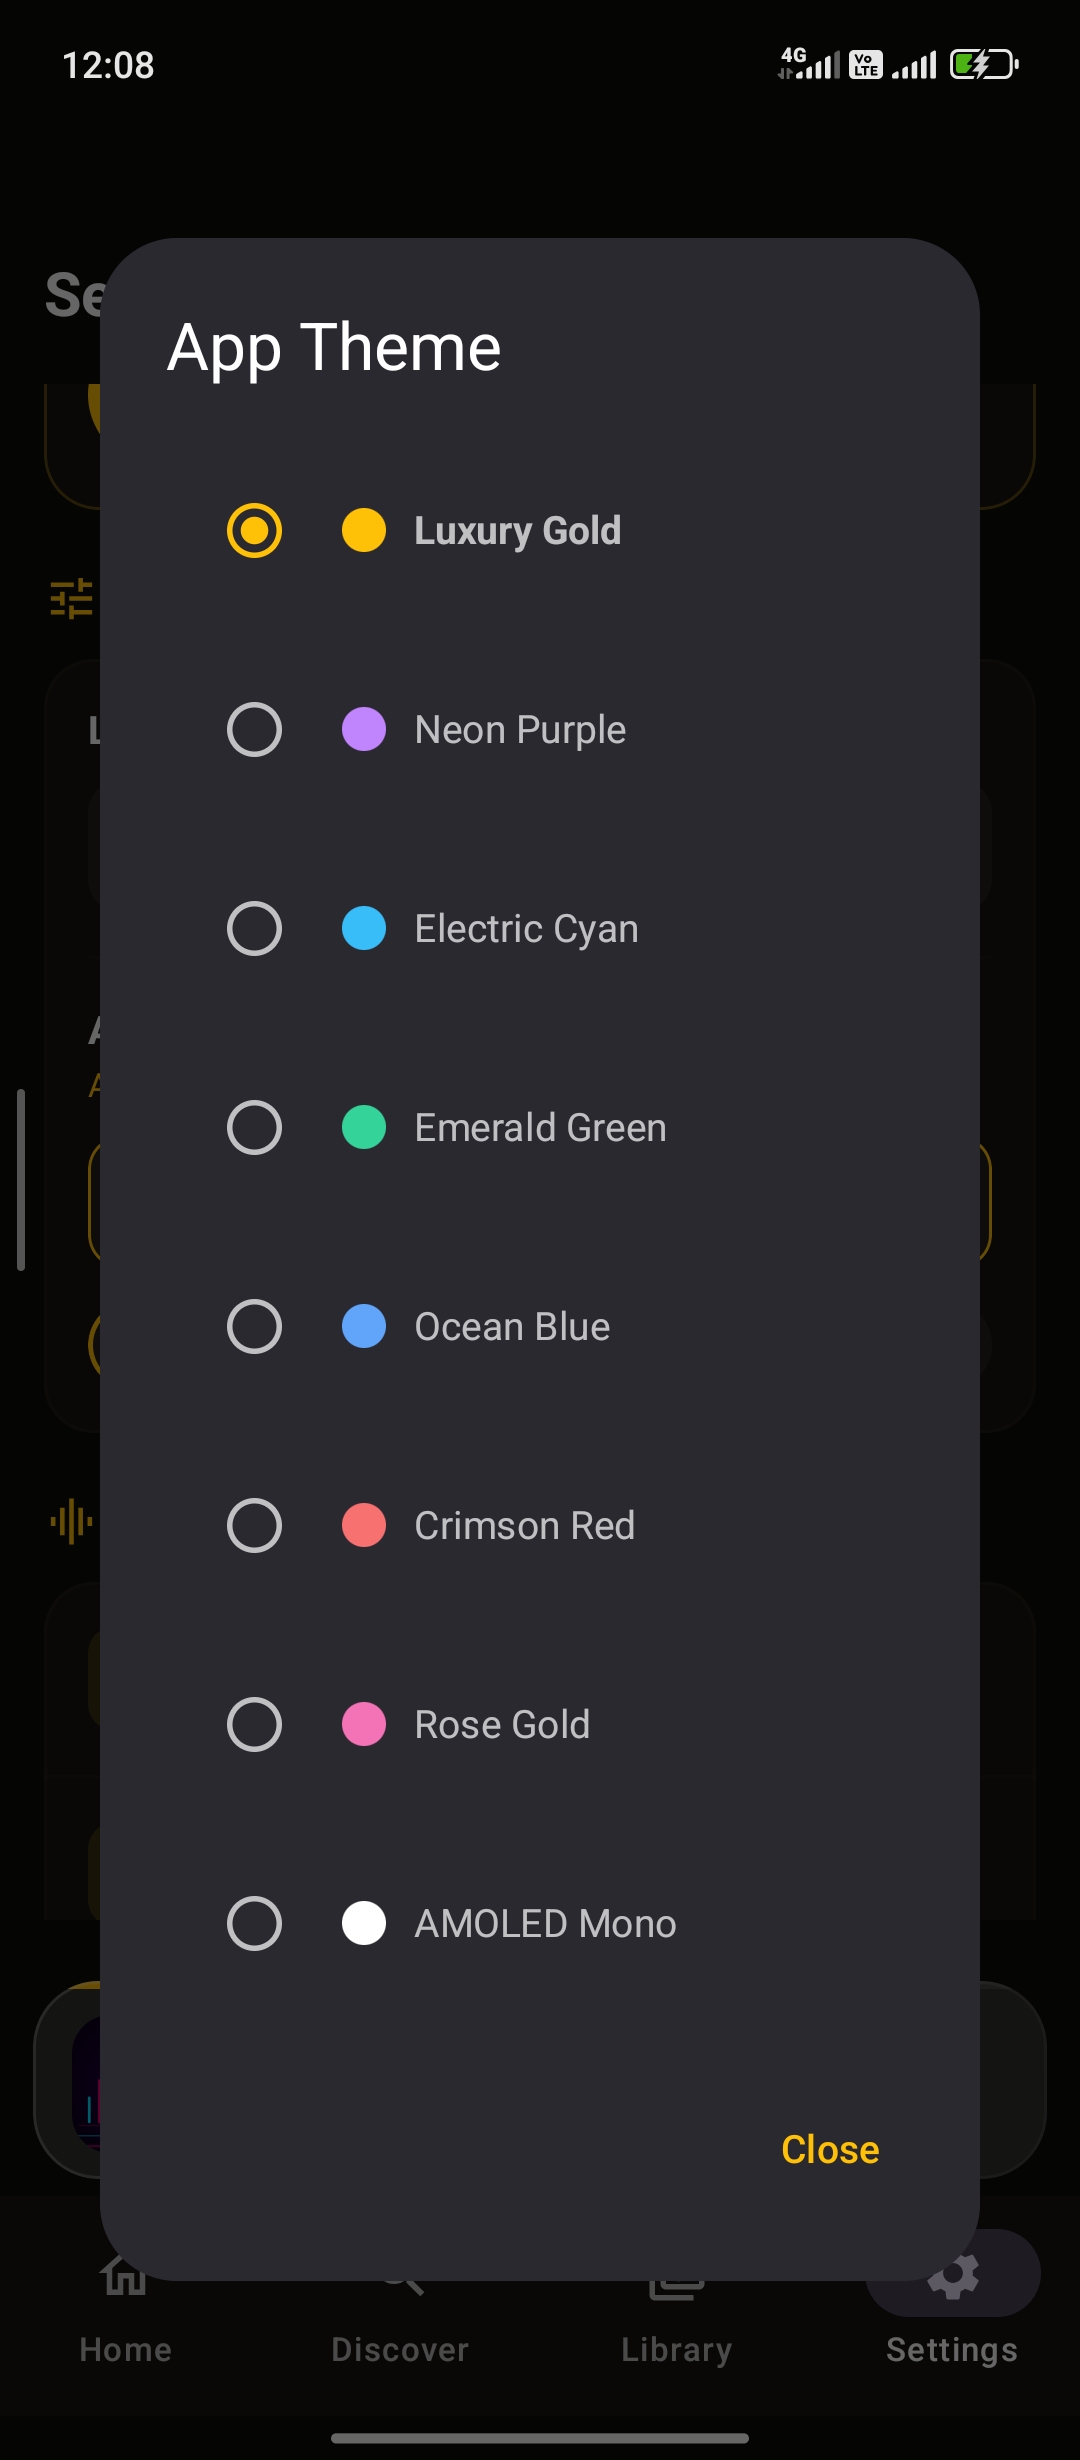
Dynamic Theme Selection Interface
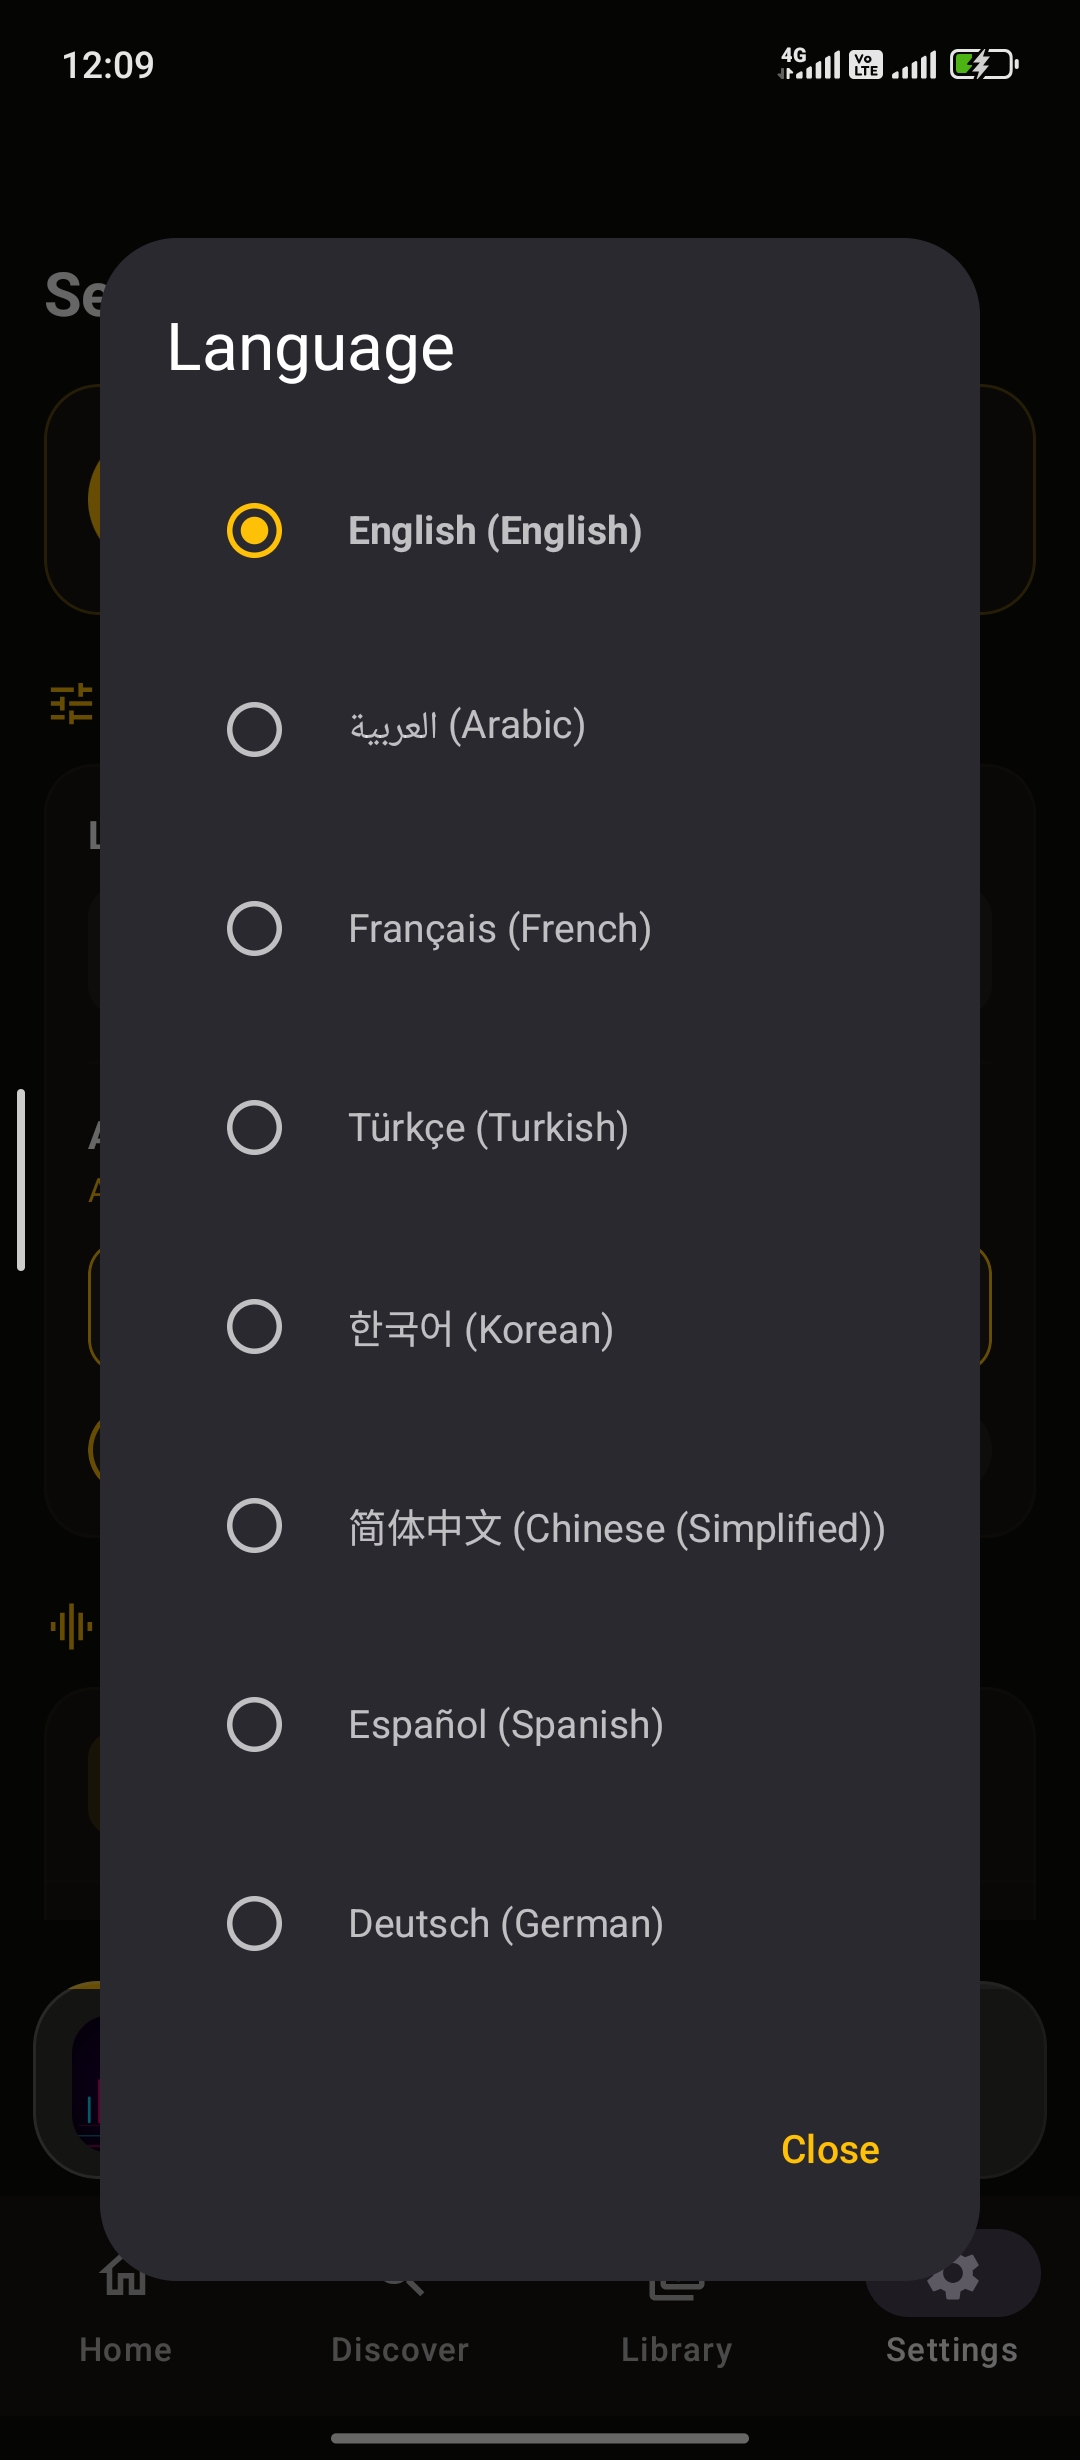
Localization & RTL Selection
5. Configure Google AdMob Monetization
Enable or disable banner & interstitial ads and paste your Google AdMob Publisher Application ID and Ad Unit IDs:
File: /.env or app/build.gradle.kts
ADS_ENABLED="true"
ADS_PROVIDER="AdMob"
ADMOB_APP_ID="ca-app-pub-XXXXXXXXXXXXXXXX~XXXXXXXXXX"
ADMOB_BANNER_ID="ca-app-pub-XXXXXXXXXXXXXXXX/XXXXXXXXXX"
ADMOB_INTERSTITIAL_ID="ca-app-pub-XXXXXXXXXXXXXXXX/XXXXXXXXXX"
INTERSTITIAL_SONG_INTERVAL="3"
6. Build & Prepare Google Play Release
To generate an Android App Bundle (.aab) for the Google Play Console:
- In Android Studio, click Build > Generate Signed Bundle / APK.
- Choose Android App Bundle and click Next.
- Create or select your upload keystore file (
.jksor.keystore). - Enter your keystore alias, password, and key password.
- Select build variant
releaseand click Create. - Upload the generated
app-release.aabfile to your Google Play Console dashboard under Production or Closed Testing.
Third-Party Services Notice
Third-Party Services Notice: Nova Music may use third-party services such as Google AdMob for advertising. These services are provided by external providers and may require separate configuration and/or accounts. Any third-party service costs, policies, API requirements, or account requirements are the responsibility of the buyer and are not included with the source code purchase.